 Lenka's Way of Lace
Turn Your Flowers into Stars
November 25, 2024
The only flowers left in my yard are lovely and hardy Calendulas, and as the temperature is falling bit by bit every day, even they will be gone soon. In summertime I found so much pleasure in observing and caring for flora around me and now time has come for good rest. I am looking forward to long winter nights to turn my gaze up to the stars. Heavenly contemplation always fills me with wonder and deep gratitude… and lots of creative ideas.
Let’s muse on… how about turning the Flowers into Stars?

It’s easy. With a few simple modifications the Flower Earrings Pattern will produce delicate stars.
All what we need is a couple meters of shiny wires, a dash of sparkling beads, six bobbins and a pillow, and a quiet afternoon. By twilight, our first stars will be ready to shine!
Here is how:
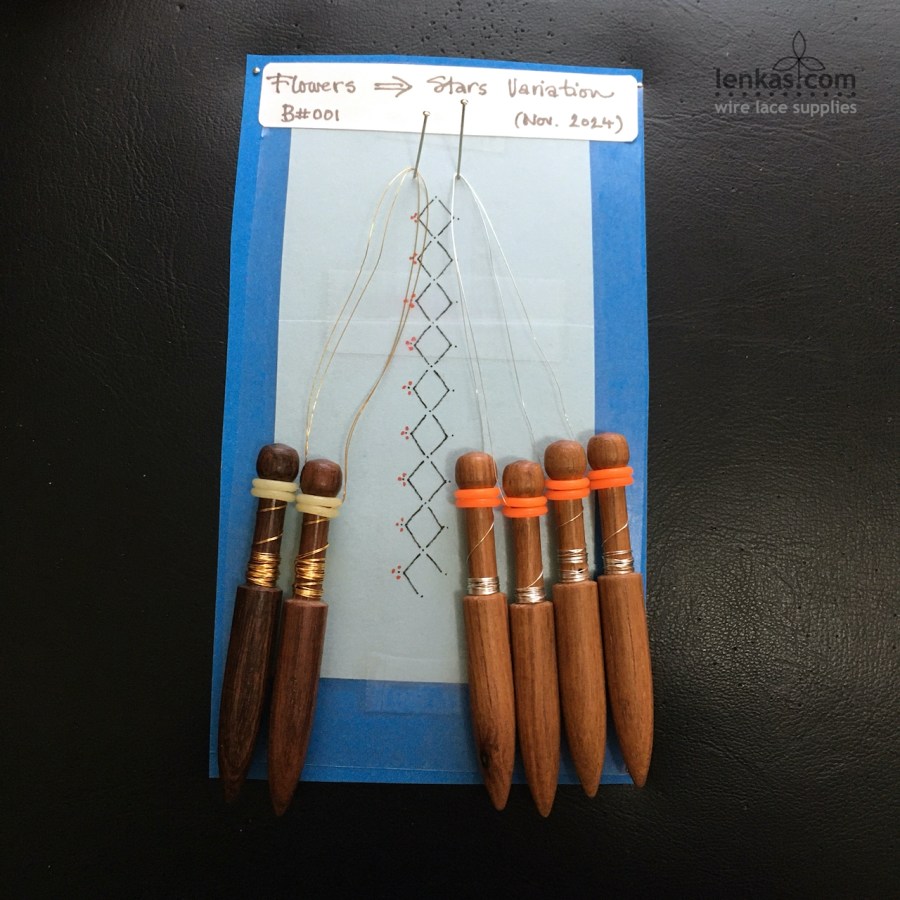
1. Extend the pricking
Print two copies of a pricking A (page 3), and cut and paste them together to get nine repeats of the pattern. The original flower pricking had six repeats and we are adding three more.
2. Add extra dots on pricking for triple picot
As opposed to flower design, the star has three picots at the tips, so it can shine and radiate light. Add three dots evenly around the original single picot dot.


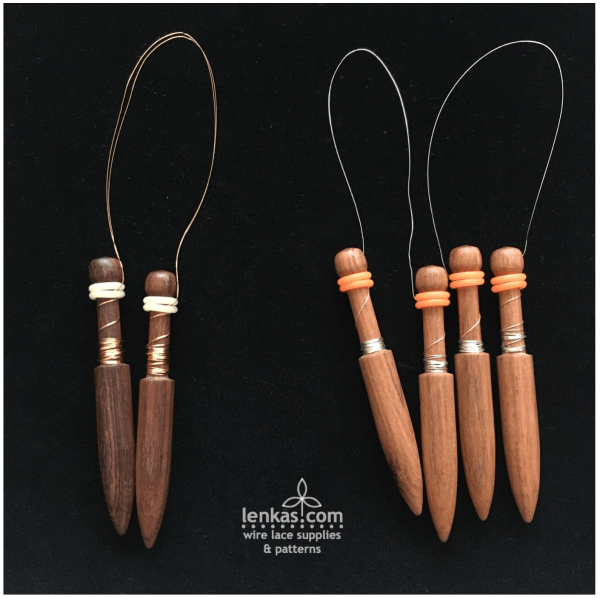
3. Change quantity of bobbins
To simplify things and also to make the centre of the future star stronger, two pairs of single-wound bobbins will be replaced by one double-wound pair. So instead of four equal pairs we will work with just three:
– 2 pairs with single wire, 40cm on each bobbin (about 16”)
– 1 pair with double wire, 40cm on each bobbin (about 16”)
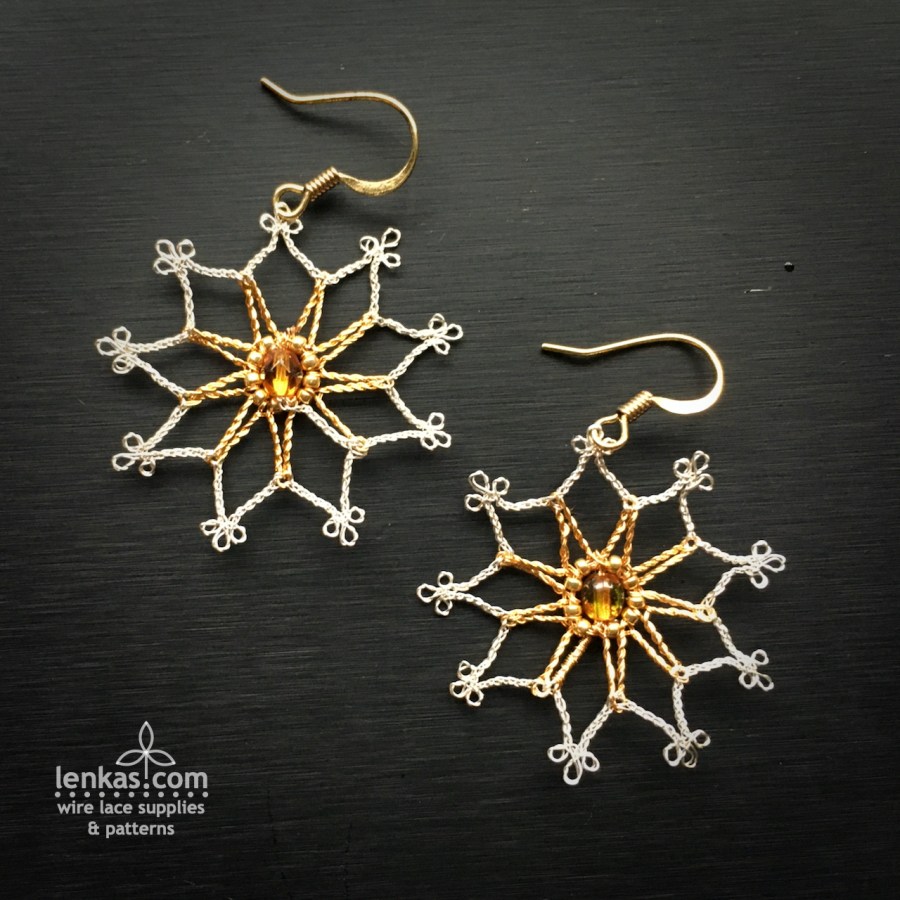
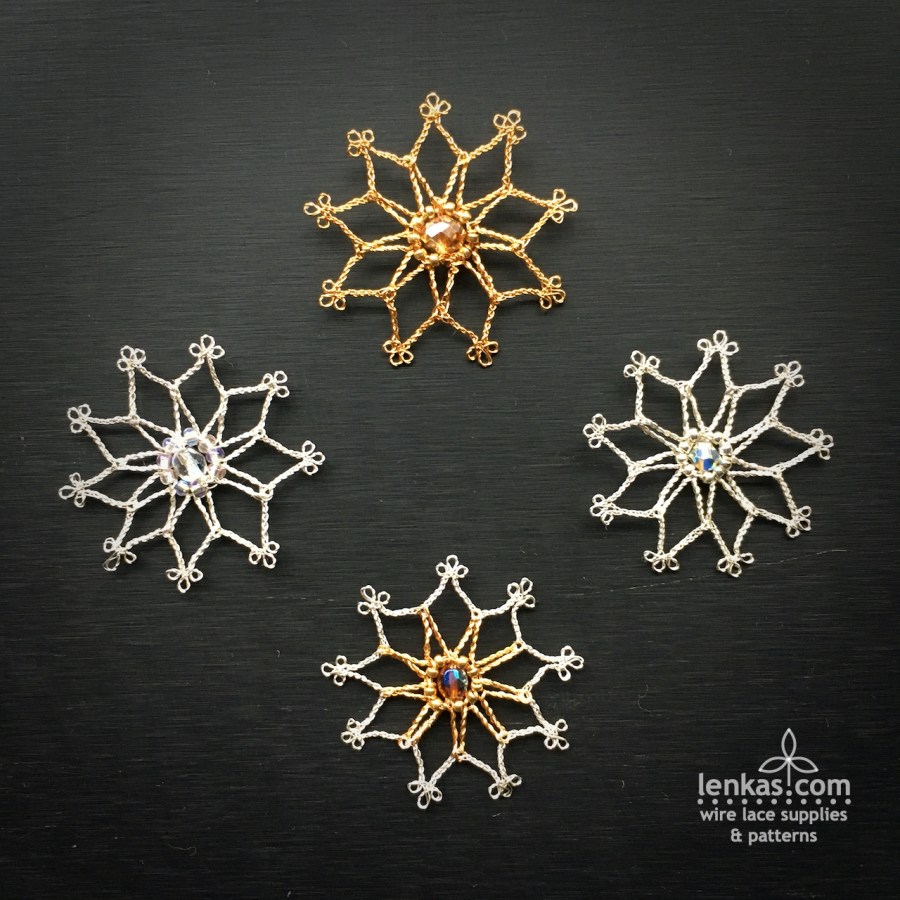
All together, there are the same number of wires (8), distributed differently on three pairs instead of four. For clarity, I used two different colours in the sample, silver for single wire pairs and gold for double wire pair. But of course, they can all be the same colour.
4. To finish the star, smaller seed beads are needed – size 10/0 or 11/0 or 15/0 – and one large bead for the centre of the star – 4 or 6mm round or faceted bi-cone.
Let’s start working:
Keep the Flower Earring Pattern on hand for reference.
1. Hang a double pair on left support pin and two single pairs on right support pin, one on top of the other.
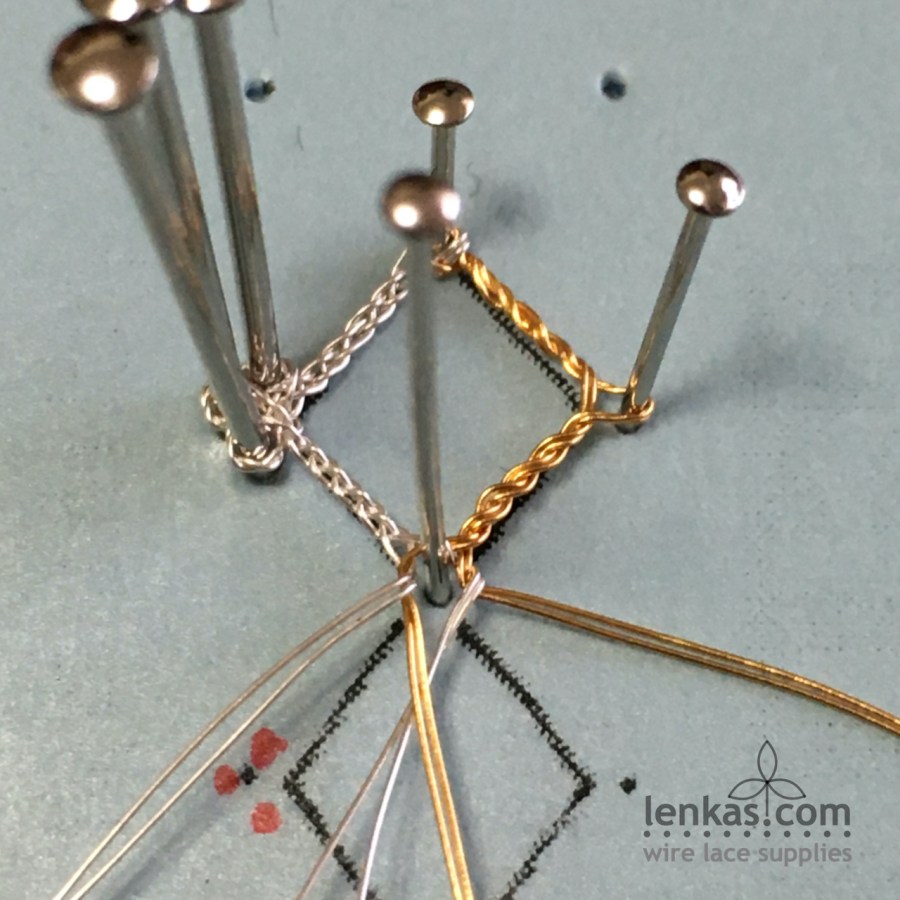
2. Work a regular windmill (see page 7). It will be a little bit easier, because the gold wires are wound only on one pair. Stitch steps are the same: Cross-Twist-pin-Cross-tension.
3. After the windmill, work with the gold double pair on right side, Twist and tension firmly, then repeat five more times to get six twists in total. Lots of twist for a short distance, but with firm tensioning you should be able to fit them all in. If it’s a struggle, just five twists will do, but six of them give stronger support. Place pin. Twist-tension six times.


4. On the headside, work a braid with two pairs, then make a triple picot. Triple picot is made of three regular picots, separated by a cloth stitch. Make the first picot, either scooped or wrapped (see page 11-12), C-T-C-tension, make the second picot, C-T-C-tension, make third picot, C-T-C-tension and continue with the braid towards the next windmill crossing.
5. This windmill crossing and all remaining ones in the pattern are worked as Windmill with a Twist (see page 9 for full explanation). Cross-Twist-pin-Twist-tension-Cross-tension. The extra twist in the middle of crossing will keep the single (silver) pairs on the headside and the double (gold) pair on the footside.
Keep repeating the steps until the end of pattern.

Beading and finishing is the same as the Flower (see page 17, and page 23).

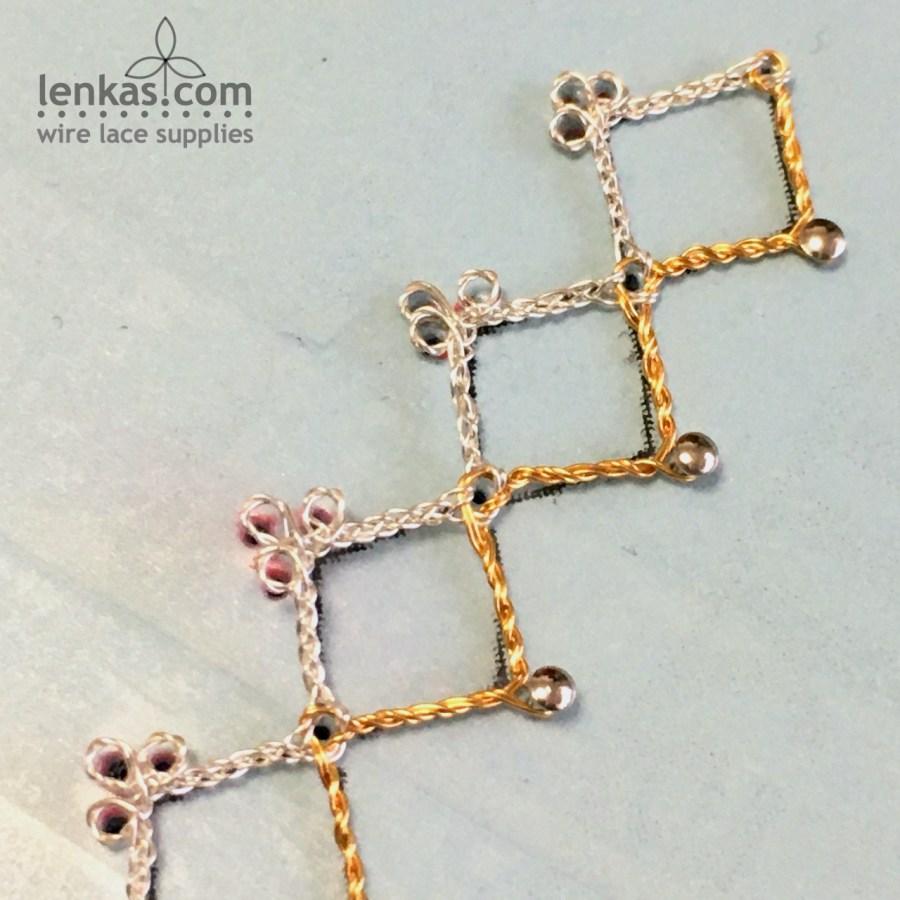
A tip for finishing two coloured star:
Connecting the end and start points to complete the circle is done with two outer pairs, which are then braided towards the centre. It means that this last braid will be a “wrong” colour (silver in the sample). To cover that irregularity, use one of the gold wires, lead it towards the start/end windmill, thread the wire through the crossing to secure it there, and then wrap the wire tightly around the silver braid, all the way to the centre of the star. It’s a fiddly job, but worth the effort if you want your star earrings to be perfect.


The star’s final shape will be determined by the size of seed beads in the centre – smaller beads make the centre tighter, while use of bigger seed beads leads to a larger opening. Choose a focal bead that fits in the middle – round or bi-cone faceted crystals in size 4-6mm work well, because they give a nice, sparkly accent to the star. The centre bead also provides ample hiding space for the wire ends, since the seed beads in sizes 10-15/0 are too small to contain all of them.

Add a finishing touch to the star by gently squeezing the braids together under the windmill crossings and triple picots. It will make the rays look sharper and neater.
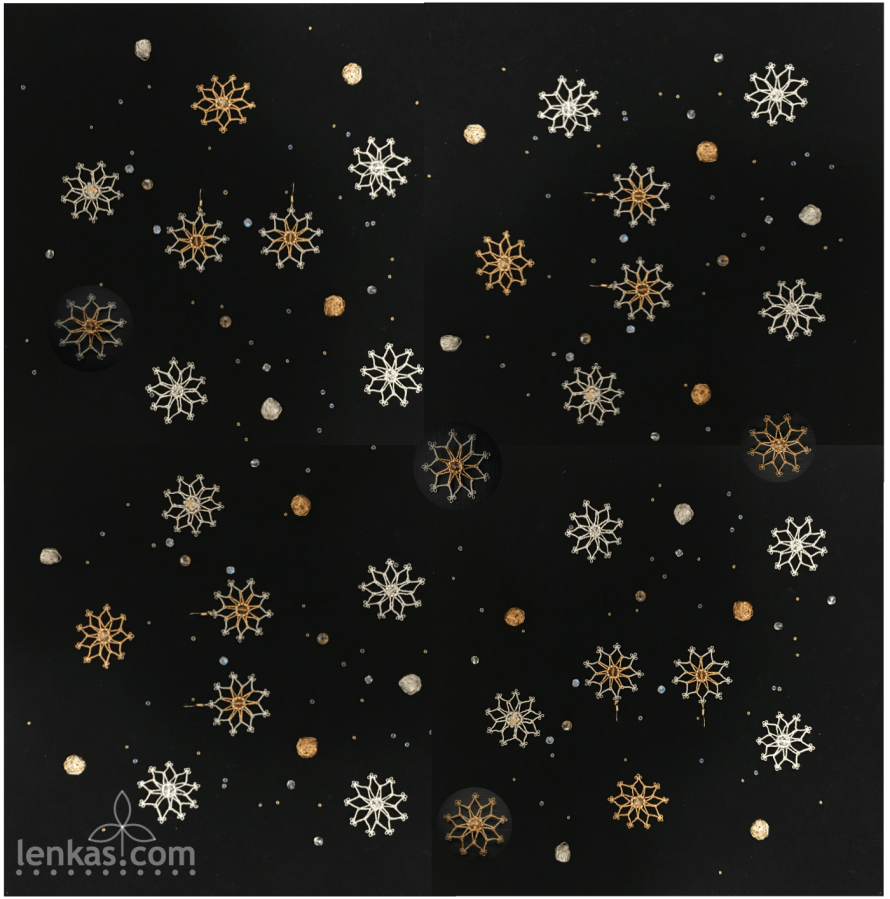
Have fun, play with wires and beads, and make a lot of stars to illuminate the path during winter months. Find ways to distribute them far and wide – on greeting cards, special gift tags or festive ornaments. They are small and delicate, but being handmade, they radiate love and light as if by magic.
If you don’t have the Flower Earrings Pattern & Tutorial yet you might be pleased to know that during Wire Lace Supplies Christmas Sale, from November 26 to December 26, 2024, there is 20% discount on all patterns. Go ahead and give the Flower/Star a try!

Happy lacemaking and star making,
Lenka

Merci je vais essayer joyeux Noël
LikeLike
Thank you, Cheerful.
Merry Christmas to you as well 🎄
LikeLike
thank you very much, this is so generous of you! Can’t wait to give it a try!
LikeLike
Thank you, Paola. Have fun making the stars!
LikeLike