 Lenka's Way of Lace
Old Wise Tree: PART 5 – Attaching Lace to Background
There are many methods of mounting lace and framing it as a picture, and they all depend on the materials, function and individual taste of the lace artists. Provided instructions explain the process in detail, so even lacemakers with little experience will be able to set the lace and finish the roots.
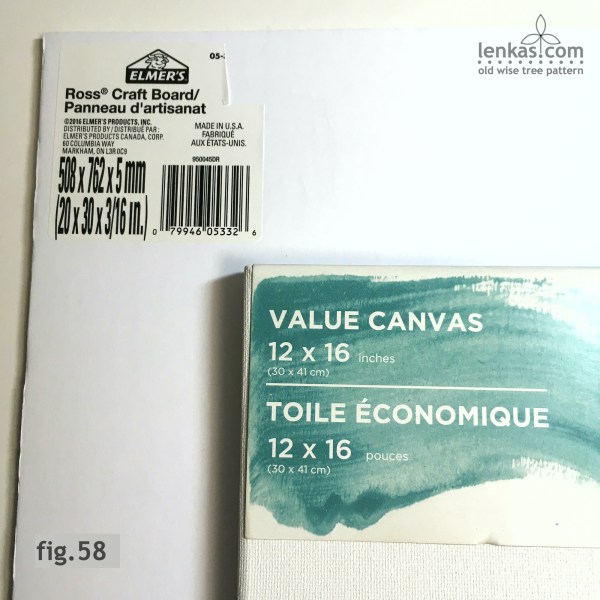
For demonstration purposes, I chose inexpensive material and a plain background colour: Value Canvas (painters canvas stretched on wooden stretchers, primed with white paint) size 30 x 41 cm (12 x 16 inches) and a Elmer’s Craft Board 50 x 76 x 0.5mm (20 x 30 x 3 1/16 in.) This cheap craft board is actually better for our purpose than a good quality foam core, because it is softer and therefore easier to perforate with a needle. It is going to be used at the back of the work, where its less then perfect appearance will be hidden from sight.

Cut the craft board to fit inside the wooden frame.
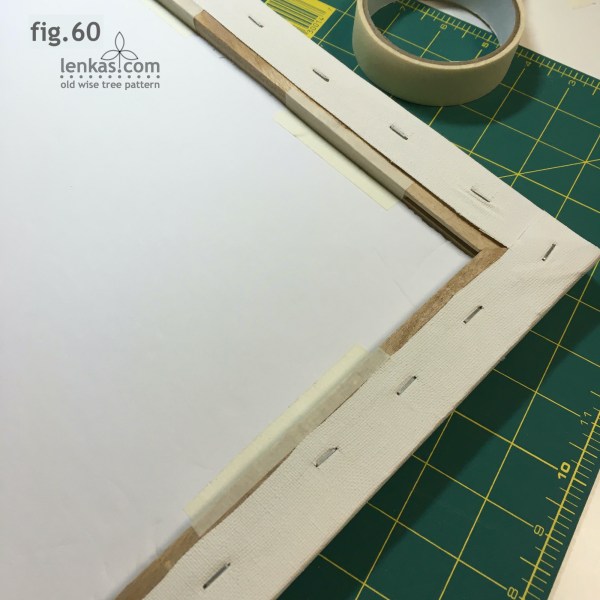
Secure the board with tape.

Frame ready.
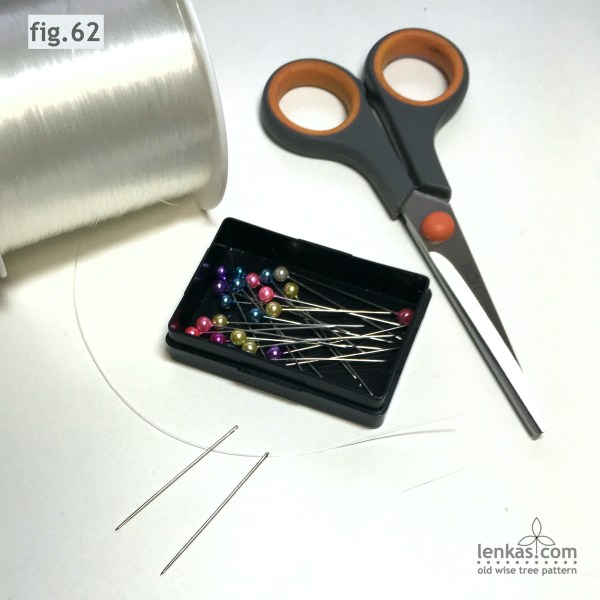
Tools and materials: fine fishing line (or clear thread), sharp scissors (or wire clippers for wire lace tree), sewing needle, glass head pins (same as used for support pins in the bobbin lace part).
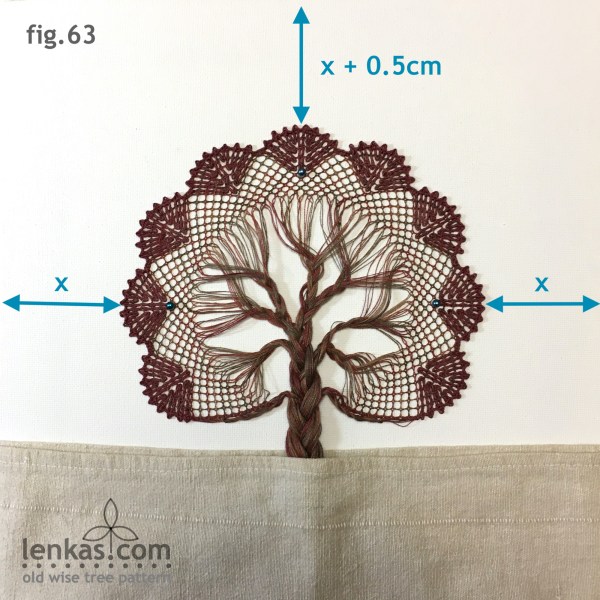
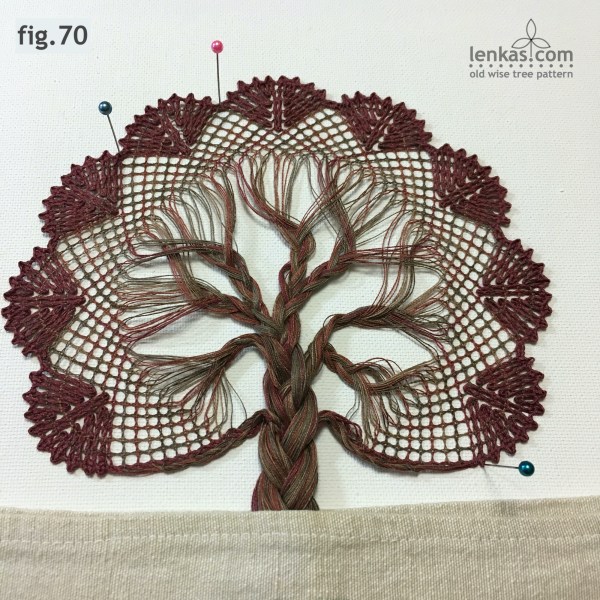
Transfer the lace with treads bound in cover cloth to the canvas. Position the tree crown somewhat in the centre (I added a half centimetre – or 1/4 in – to the top).
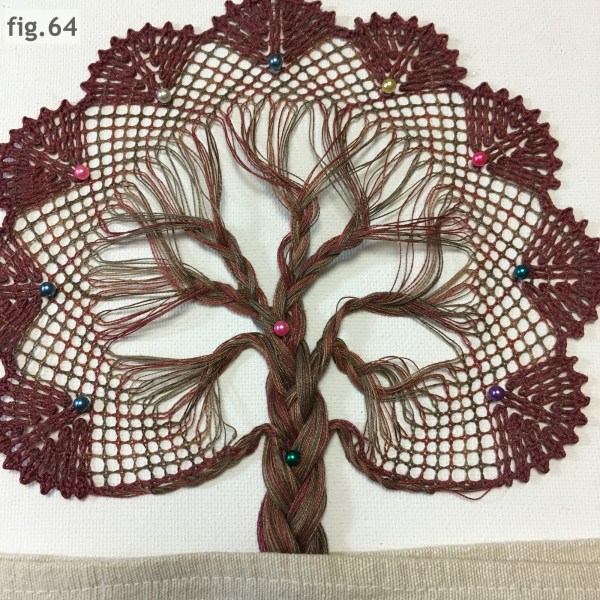
Pin through the inner points of all fans. Add a couple of pins along the trunk to keep it steady.
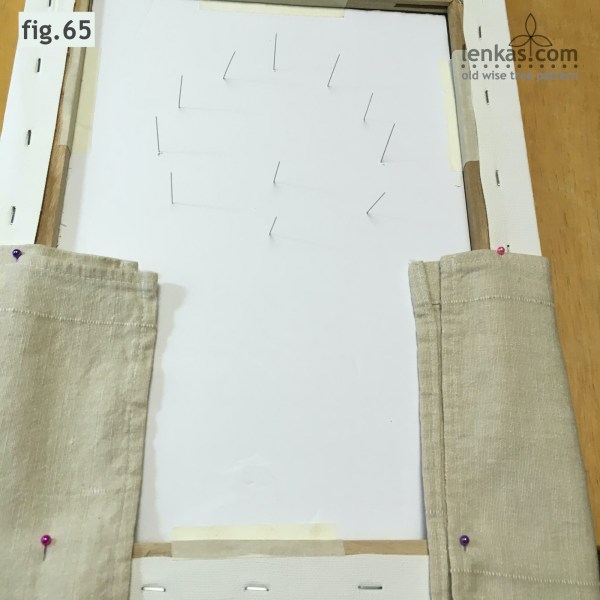
Carefully turn the frame upside down and pin the cover cloth to the canvas on the sides of the frame (not through the craft board). This will keep the loose threads tucked in while the crown is being secured.
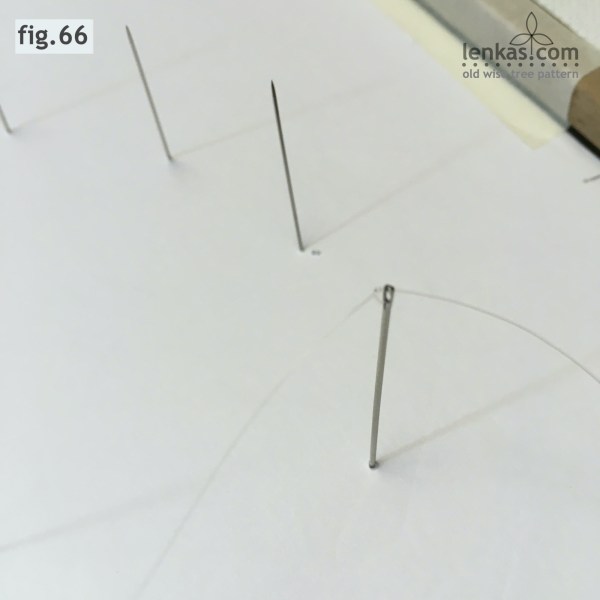
Thread a needle with clear thread (I prefer to add one knot next to the eye, so it does not slip). Remove the first pin and push the needle through the hole.
Ensure that needle sews through the fan point loop, then run the needle through the same hole back to the reverse side. Tension. Repeat sewing and attaching lace at all points marked by the pins.
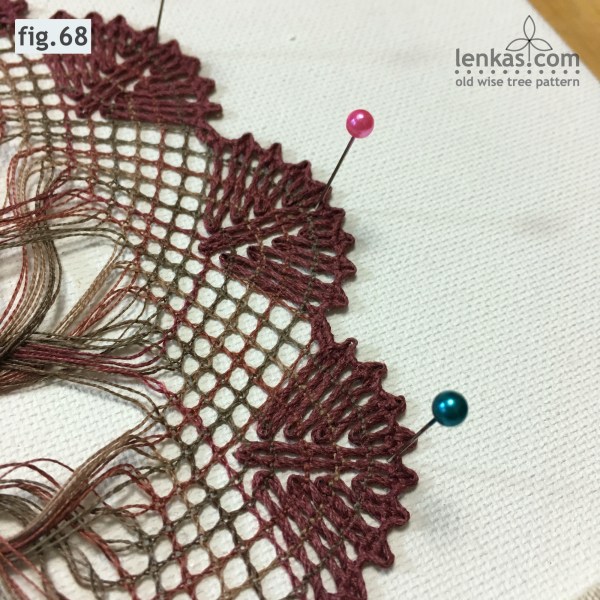
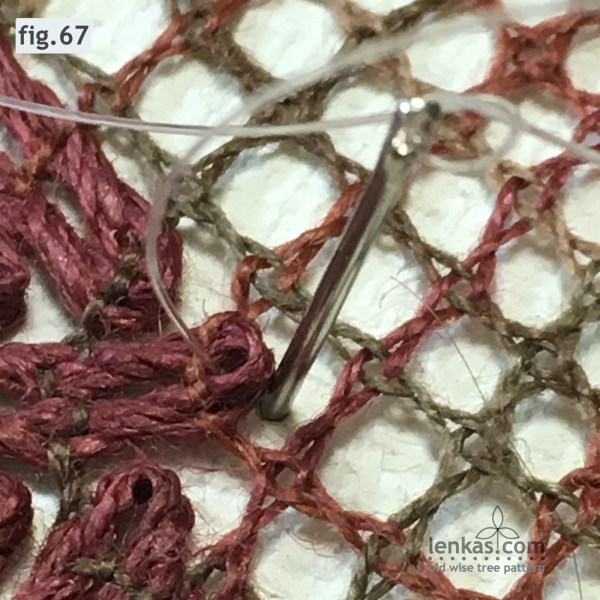
Pin through all fans on the outside – in the fan centre, under the outline pair.
Use the same needle and thread to sew through the background, catch the outline threads and sew back through the same hole.
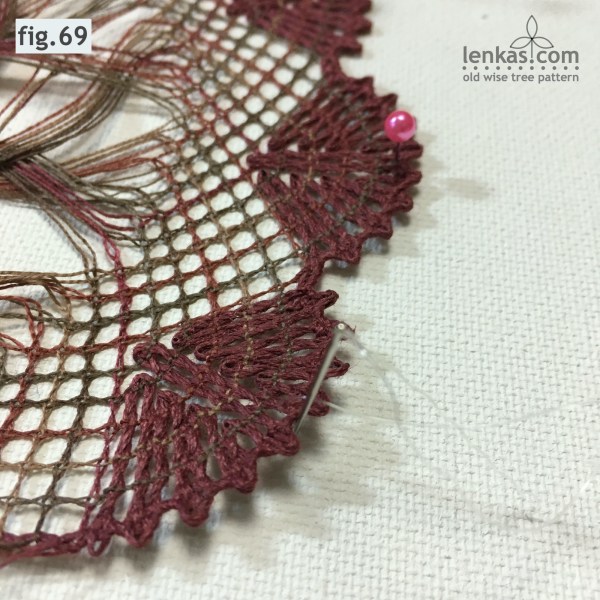
Check the lace, and if there are any spots where the lace still lifts off from the surface, mark them with the pins. Repeat sewing steps in those places, until the whole tree crown lies flat on the canvas, neatly and safely attached.
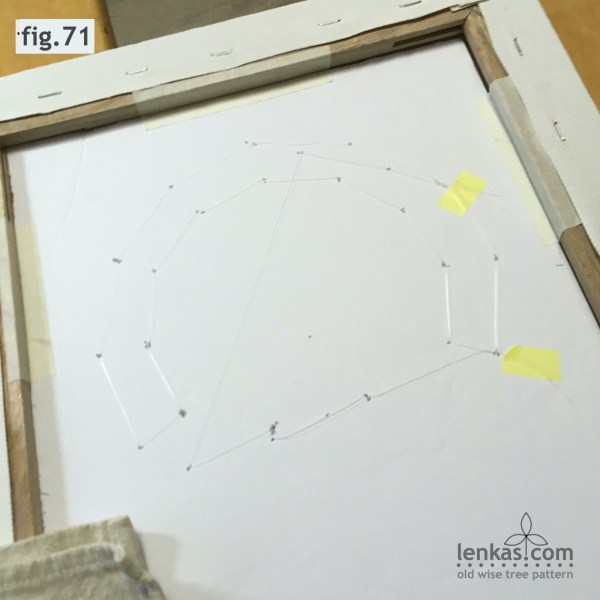
This is how the work looks on the back side when sewing is completed (yellow tape tucks the fishing line ends).
Take a well deserved break before proceeding to the next step.
PART 4 Branches & Trunk <<< previous next >>> PART 6 Root work
PART 1|PART 2| PART 3| PART 4 |PART 5 |PART 6
