 Lenka's Way of Lace
Old Wise Tree: PART 2 – Preparations
Pricking
Make sure to print the pricking in correct size (see the Print Check on the page). Prepare the pricking as usual. For wire lace, a heavier card stock might be helpful especially if your pillow is on a softer side.
Lacemaking Pillow
Round cookie pillow 55-60cm (22″-24″) is recommended for the work, because it will accommodate the lace and all support accessories. If you don’t own a pillow that large, use the largest pillow that you have. Place the pricking in the centre of the pillow.
Accessories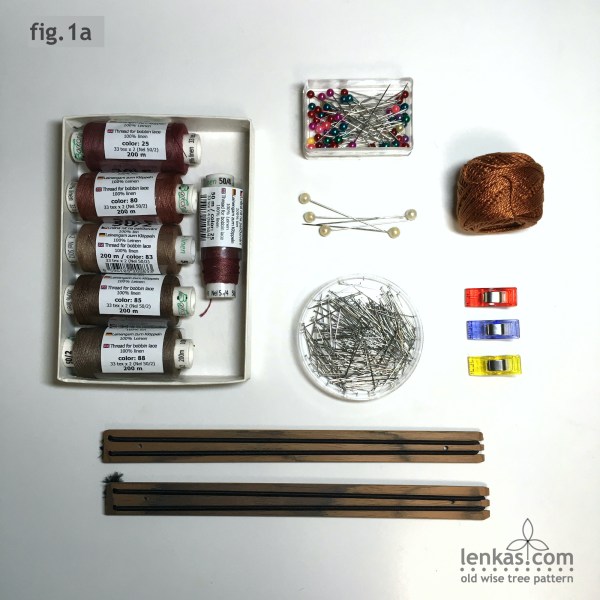
Glass (or plastic) head pins, divider (or long corsage) pins, lacemaking pins, thick thread for loops (Pearl Cotton #5 or similar), 3 wonder clips, 2 long bobbin holders (or 3 short ones).
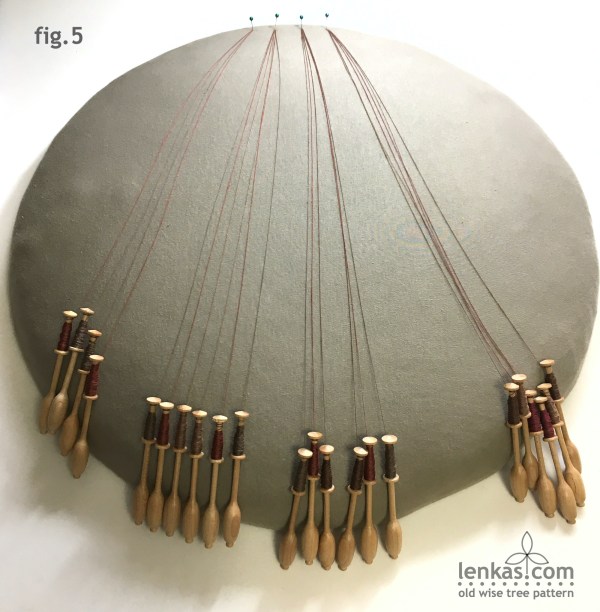
Support loops
The support loop with a wonder clip helps to measure, secure and gather the threads in the centre of the work. Threads which are released from the ground bobbins at the torchon lace footside are first held by the clip and then gradually transferred onto support bobbins.
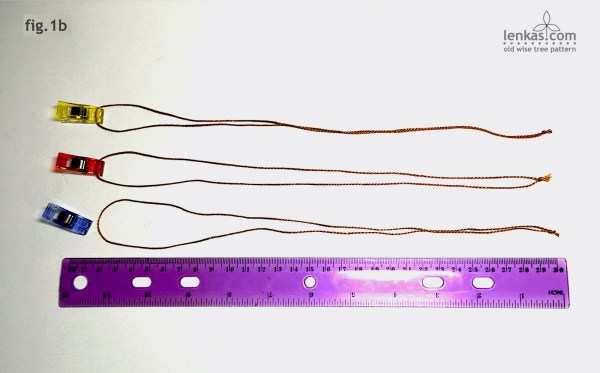
How to make the support loops: cut a piece of thick thread (or string) 60 cm (24”) long, fold it in half and tie the ends together with a simple overhand knot. Make three identical thread loops and add one wonder clip to each of them.

Bobbin winding
The pattern requires 13 pairs of bobbins for the lace and additional 27 single bobbins for support work.
For fibre lace use the best bobbins for the thread size.
For wire lace, Lenka’s Medium bobbins are recommended, because they can hold large amount of wire.
(These bobbins would also do a good job as support bobbins for the fibre lace).
Make sure that all bobbins are wound in the same direction. It does not matter in which direction, but it has to be the same on all bobbins – no exceptions! You will need to release a substantial amount of thread from each pair that reaches the footside, and it’s much quicker to do when all bobbins unwind in the same direction.
Each pair (with an exception of the fan worker) starts with 30 cm (12”) long threads above the row, which is unusual. This thread surplus is wound on a support bobbin and secured above the work.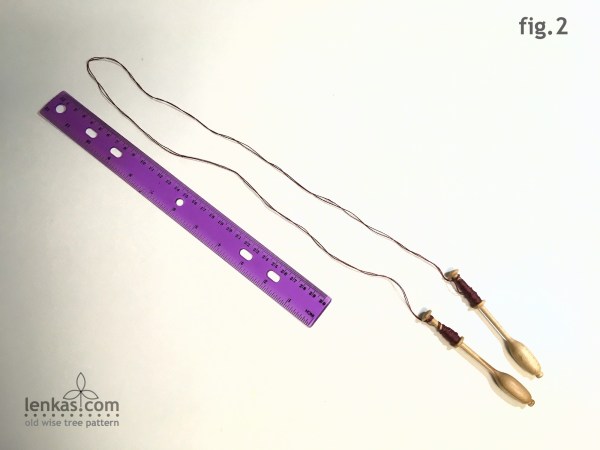
Start with preparing the outline pair: Release 40 cm (16”) of thread from both bobbins.

Take one support bobbin and attach the centre of the thread with a lark’s head knot (also called cow hitch).
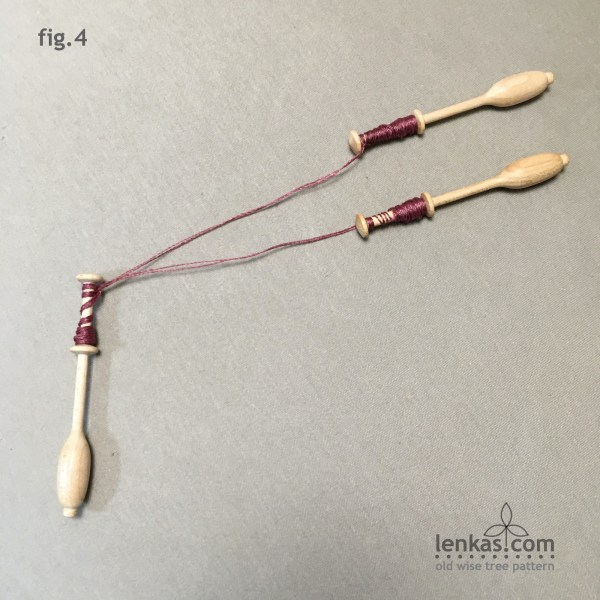
Wind about 25-30 cm (10-12 inch) of threads on the support bobbin and secure with a single hitch.
Prepare the ground pairs in the same manner: Bundle them in groups of three pairs, release 40 cm of threads from all bobbins.

Use one support bobbin for each group: wind 30 cm of threads and secure with a single hitch.

Because there are eleven ground pairs, the fourth support bobbin holds only four threads from the two remaining ground pairs.
(In the sample, five colours of threads were used for ground pairs. They were mixed randomly in the groups, in no particular order.)
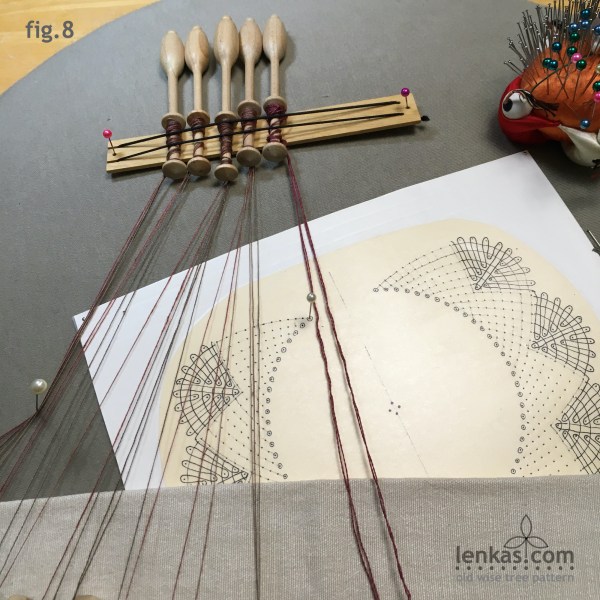
Insert all five support bobbins (1 with outline threads and 4 with ground threads) into bobbin holder and pin it above the starting row.
PART 1 Pattern <<< previous next >>> PART 3 Tree Crown Bobbin Lace
PART 1|PART 2| PART 3| PART 4 |PART 5 |PART 6
