 Lenka's Way of Lace
Turn Your Flowers into Stars
Posted on November 25, 2024
November 25, 2024
The only flowers left in my yard are lovely and hardy Calendulas, and as the temperature is falling bit by bit every day, even they will be gone soon. In summertime I found so much pleasure in observing and caring for flora around me and now time has come for good rest. I am looking forward to long winter nights to turn my gaze up to the stars. Heavenly contemplation always fills me with wonder and deep gratitude… and lots of creative ideas.
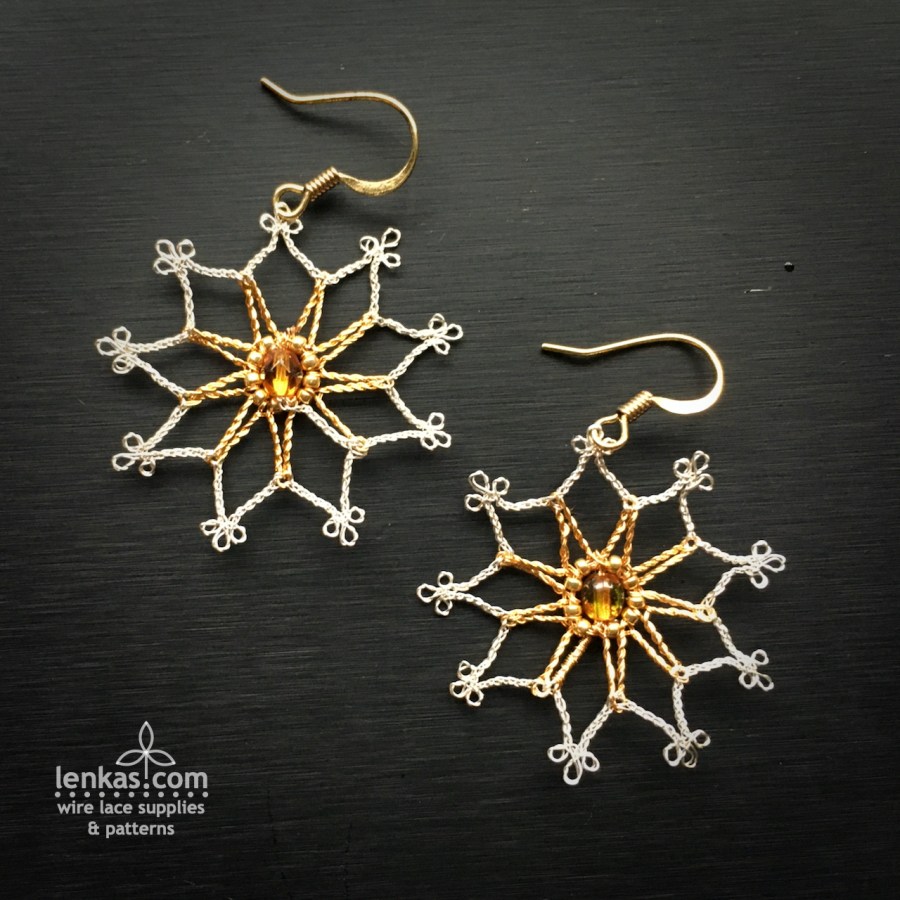
Let’s muse on… how about turning the Flowers into Stars?

It’s easy. With a few simple modifications the Flower Earrings Pattern will produce delicate stars.
All what we need is a couple meters of shiny wires, a dash of sparkling beads, six bobbins and a pillow, and a quiet afternoon. By twilight, our first stars will be ready to shine!
Here is how:
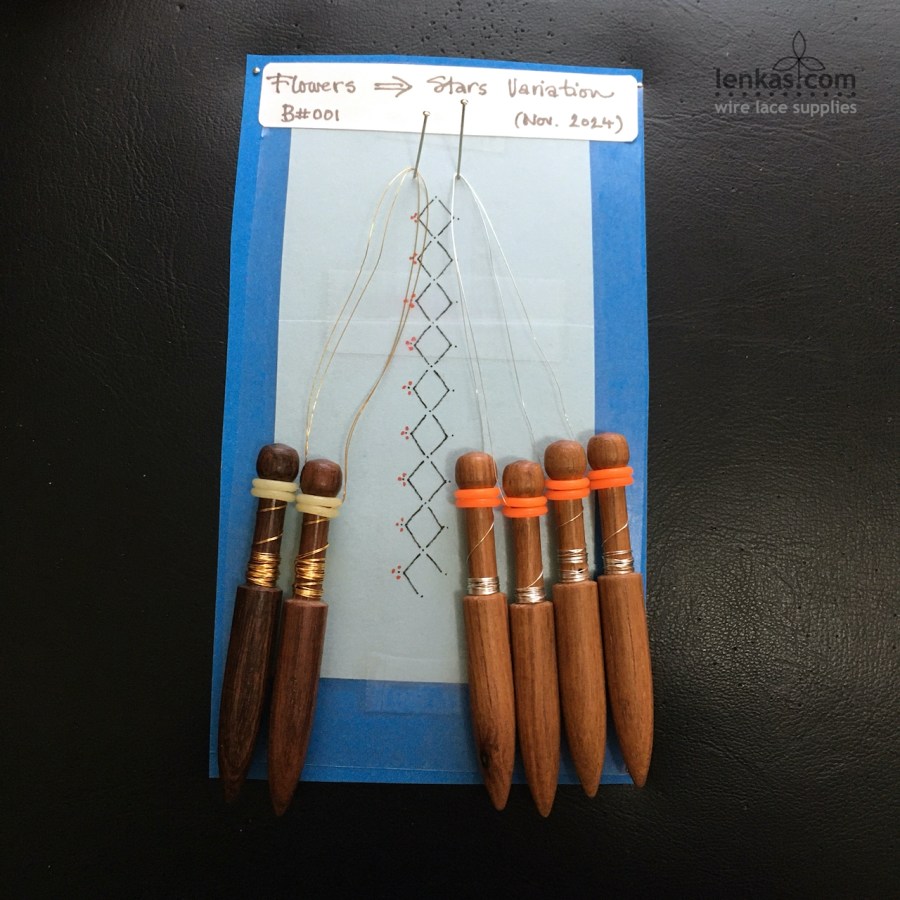
1. Extend the pricking
Print two copies of a pricking A (page 3), and cut and paste them together to get nine repeats of the pattern. The original flower pricking had six repeats and we are adding three more.
2. Add extra dots on pricking for triple picot
As opposed to flower design, the star has three picots at the tips, so it can shine and radiate light. Add three dots evenly around the original single picot dot.


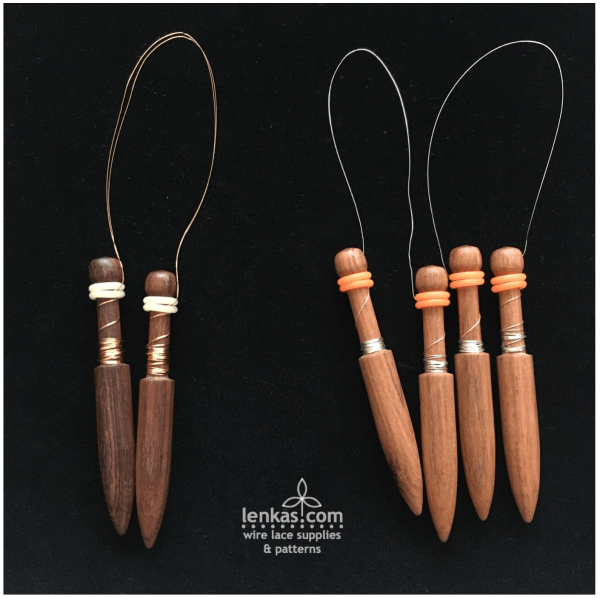
3. Change quantity of bobbins
To simplify things and also to make the centre of the future star stronger, two pairs of single-wound bobbins will be replaced by one double-wound pair. So instead of four equal pairs we will work with just three:
– 2 pairs with single wire, 40cm on each bobbin (about 16”)
– 1 pair with double wire, 40cm on each bobbin (about 16”)
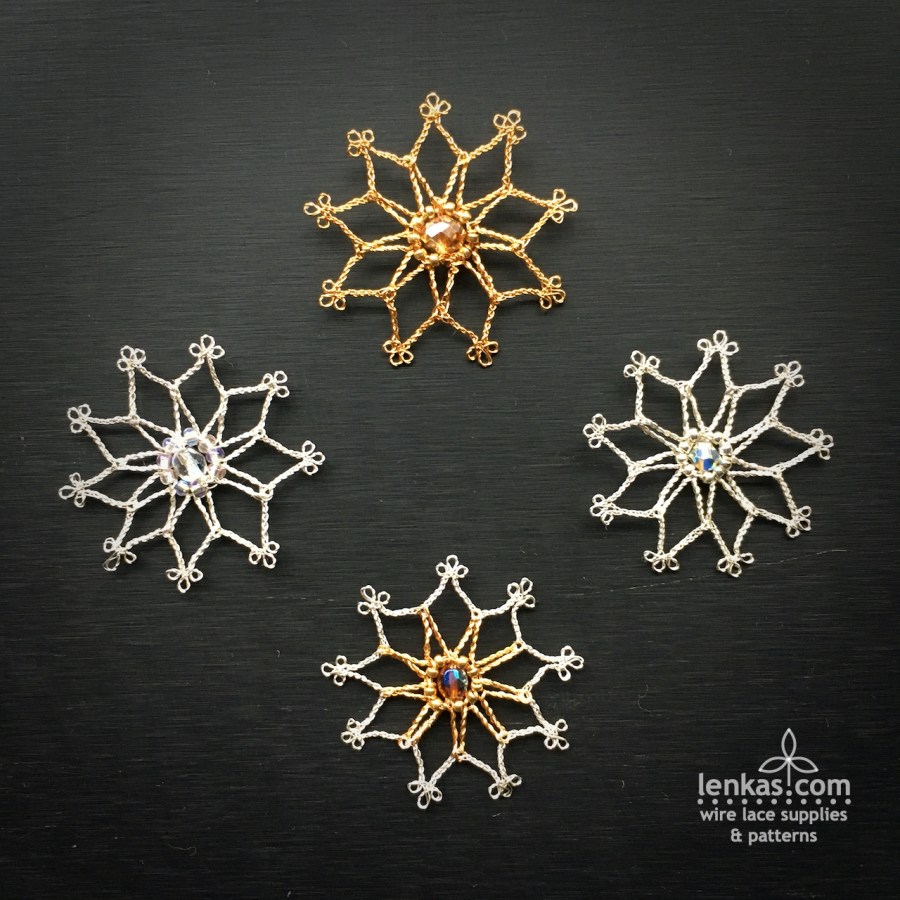
All together, there are the same number of wires (8), distributed differently on three pairs instead of four. For clarity, I used two different colours in the sample, silver for single wire pairs and gold for double wire pair. But of course, they can all be the same colour.
4. To finish the star, smaller seed beads are needed – size 10/0 or 11/0 or 15/0 – and one large bead for the centre of the star – 4 or 6mm round or faceted bi-cone.
Let’s start working:
Keep the Flower Earring Pattern on hand for reference.
1. Hang a double pair on left support pin and two single pairs on right support pin, one on top of the other.
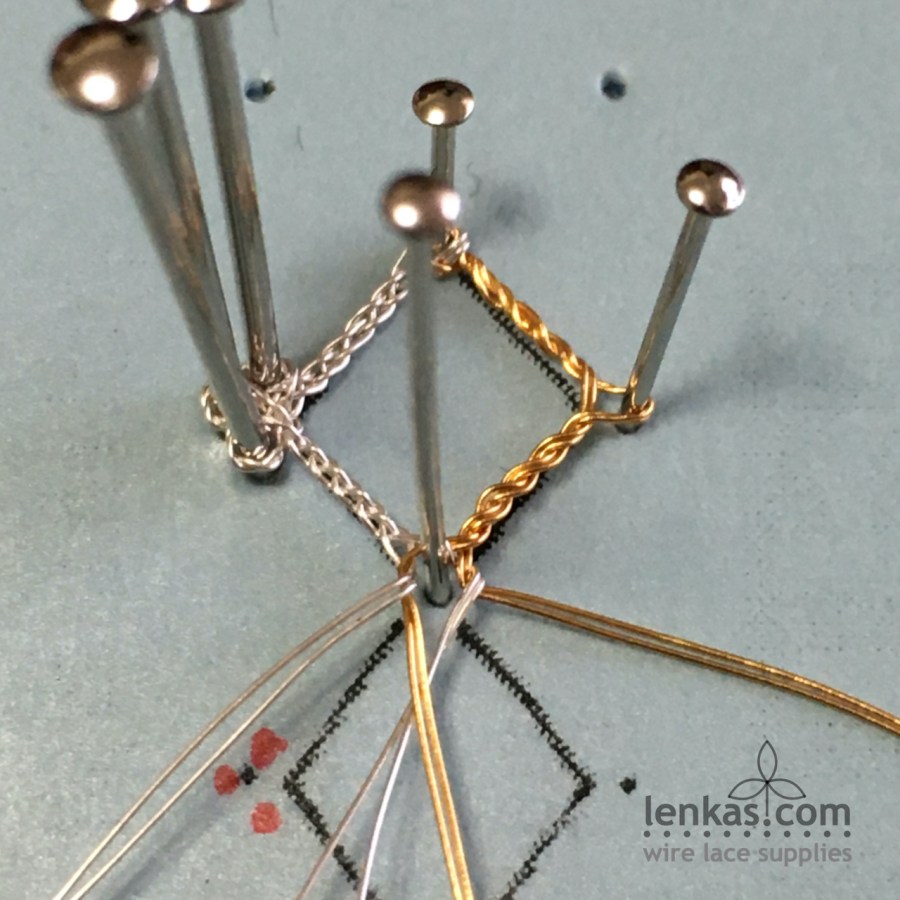
2. Work a regular windmill (see page 7). It will be a little bit easier, because the gold wires are wound only on one pair. Stitch steps are the same: Cross-Twist-pin-Cross-tension.
3. After the windmill, work with the gold double pair on right side, Twist and tension firmly, then repeat five more times to get six twists in total. Lots of twist for a short distance, but with firm tensioning you should be able to fit them all in. If it’s a struggle, just five twists will do, but six of them give stronger support. Place pin. Twist-tension six times.


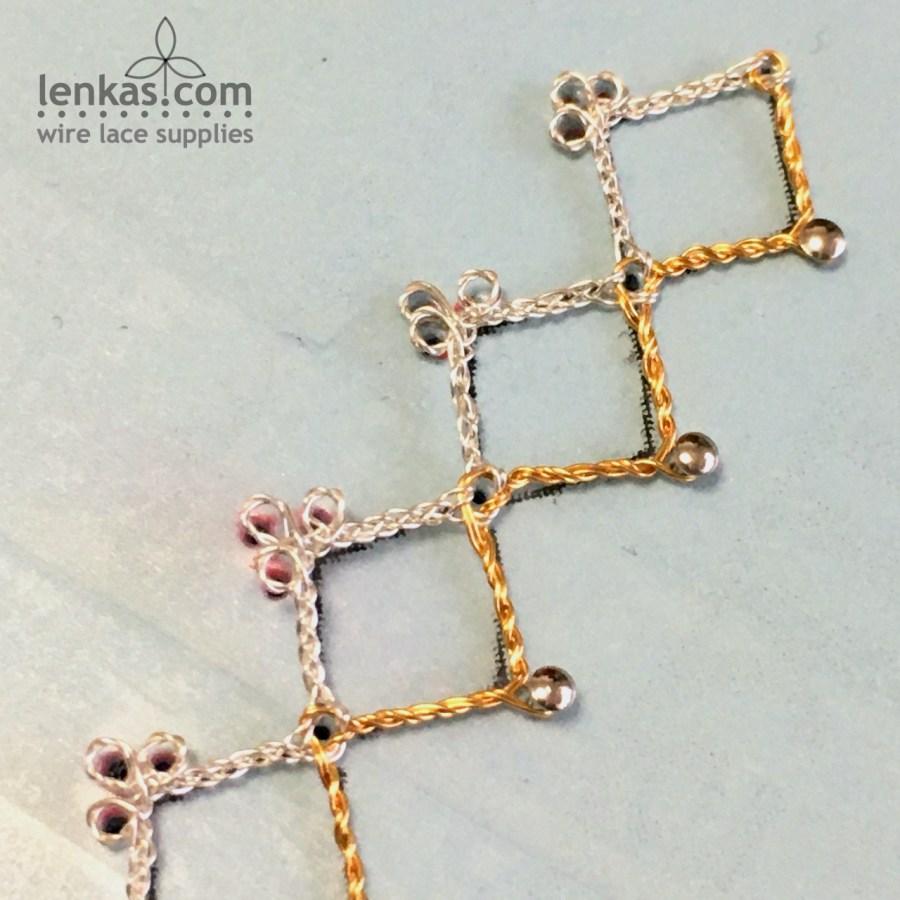
4. On the headside, work a braid with two pairs, then make a triple picot. Triple picot is made of three regular picots, separated by a cloth stitch. Make the first picot, either scooped or wrapped (see page 11-12), C-T-C-tension, make the second picot, C-T-C-tension, make third picot, C-T-C-tension and continue with the braid towards the next windmill crossing.
5. This windmill crossing and all remaining ones in the pattern are worked as Windmill with a Twist (see page 9 for full explanation). Cross-Twist-pin-Twist-tension-Cross-tension. The extra twist in the middle of crossing will keep the single (silver) pairs on the headside and the double (gold) pair on the footside.
Keep repeating the steps until the end of pattern.

Beading and finishing is the same as the Flower (see page 17, and page 23).

A tip for finishing two coloured star:
Connecting the end and start points to complete the circle is done with two outer pairs, which are then braided towards the centre. It means that this last braid will be a “wrong” colour (silver in the sample). To cover that irregularity, use one of the gold wires, lead it towards the start/end windmill, thread the wire through the crossing to secure it there, and then wrap the wire tightly around the silver braid, all the way to the centre of the star. It’s a fiddly job, but worth the effort if you want your star earrings to be perfect.


The star’s final shape will be determined by the size of seed beads in the centre – smaller beads make the centre tighter, while use of bigger seed beads leads to a larger opening. Choose a focal bead that fits in the middle – round or bi-cone faceted crystals in size 4-6mm work well, because they give a nice, sparkly accent to the star. The centre bead also provides ample hiding space for the wire ends, since the seed beads in sizes 10-15/0 are too small to contain all of them.

Add a finishing touch to the star by gently squeezing the braids together under the windmill crossings and triple picots. It will make the rays look sharper and neater.
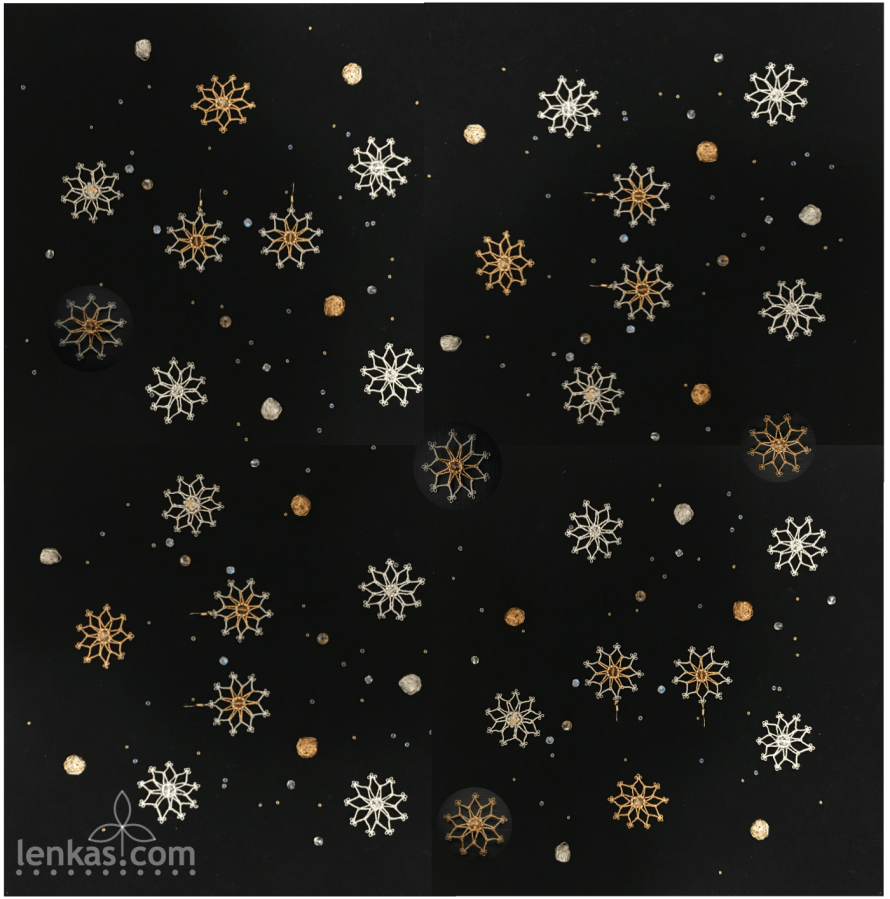
Have fun, play with wires and beads, and make a lot of stars to illuminate the path during winter months. Find ways to distribute them far and wide – on greeting cards, special gift tags or festive ornaments. They are small and delicate, but being handmade, they radiate love and light as if by magic.
If you don’t have the Flower Earrings Pattern & Tutorial yet you might be pleased to know that during Wire Lace Supplies Christmas Sale, from November 26 to December 26, 2024, there is 20% discount on all patterns. Go ahead and give the Flower/Star a try!

Happy lacemaking and star making,
Lenka
Serendipitous Wire Test
Posted on November 19, 2024
November 19, 2024
I like to say that wire lace is forever. It is true, because wire is much stronger than threads and deteriorates slowly. But when some of my metal lace creation changed colour over time I realized that longevity of wire coating might be uncertain.
Craft copper wire is coated with a layer of material that protects the raw metal and gives wire its colour. When the coating is not completely sealed the air reaches wire beneath and reacts with it in a natural chemical process. In case of outside copper and bronze sculptures, it is expected and accepted that the tarnish will eventually deposit and permanently colour the artwork. But it is much harder to surrender our delicate lace art to natural forces. We know what happened to antique metallic laces when they lost their lustre…
The first copper wires I used for making lace were from magnet coils found in old electrical appliances. They were durable, made to withstand harsh conditions of various environments. Despite being fifty-sixty years old the spools of wire looked like new. Old enamelled wires were of excellent quality, made to last, but the choice of colours was limited. Many of my works were created in the typical colour range of reds, yellows and browns, with occasionally green. It was fine at the beginning, when I welcomed any wire for my lace, but then of course I started to dream about blues, turquoise and purples…
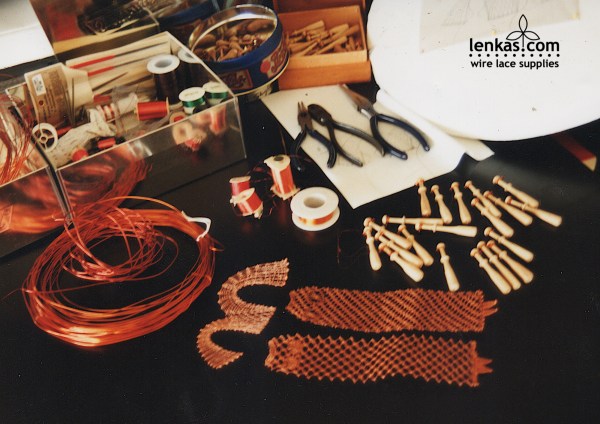
Luckily, I was not alone searching for coloured copper. There was a growing demand from other artisans and artists – knitters, weavers and crochetiers (and zealous fly tyers). Right at that time some manufacturers, looking to find alternative markets, started to produce wire for craft field. It was not an easy task to satisfy the needs of creative people who wanted soft, pliable wire in lots of colours. New products were tested with mixed outcomes. The coating was posing the biggest challenge; often it was weak and chipped or peeled off during work. Sometimes the wires worked fine, but the colours were unstable and turned dull and grey really quickly. It was time of trial and error but finally a handful of manufacturers were able to produce reasonably stable coloured copper wire. I still have some works from those times, still in good condition, aging gracefully as their colours are slowly fading. And now, many years later, I have a better understanding of the process.
Eventually, I found good quality wires for lacemaking, and I consider myself lucky to be able to work with material that is worthy of such time-consuming and labour-intensive craft as bobbin lace. Over time, “my” manufacturer produced many beautiful colours while keeping or exceeding the quality standard.
About two years ago, I noticed the wire changed. Being too small a customer, I do not get informed about product modifications, but I could see and feel the difference in the new spools. The colours were richer and brighter and the wire felt just a tiny bit harder, springier. Based on my experience, I deduced that the coating technique changed to produce brighter hues, and I trusted that the surface quality improved as well. I tried a few simple chemical tests with satisfactory results, and left it at that. Time will tell.

And soon enough, it did. This year, when I was working in my front yard, trimming back a pachysandra border, I noticed bright sparkle in the depth of the bundled stems. I reached in and pulled out two spools of wire, silver plated and bright pink colour. They looked like they have been there for a while, because the spools were all dirty. and wet. But the colours were still brilliant!
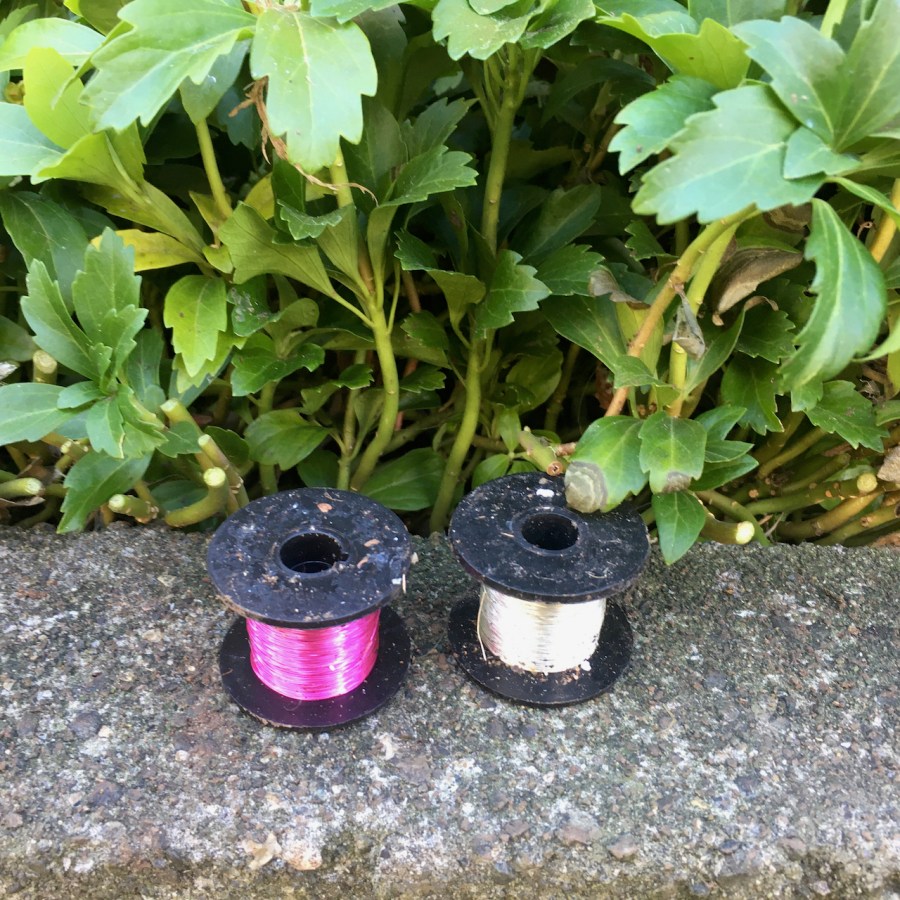

How did the copper wire spools end up in the vegetation?
With each new product I need photos for my online shop. Because the shiny wires are difficult to photograph in artificial light, I have the best chance to capture true-to-colour images in muted natural daylight on a cloudy day. So I usually set up the photo station on a landing in front of the house. After a photoshoot on one of those perfect grey days, two runaway spools did not make it back home. They must have slipped over the edge of the landing and descended into pachysandra’s embrace. I did not notice them missing and they stayed there… for a very long time. The wire was exposed to outside elements – a lot of moisture during rainy season, followed by dry summer heat (but not direct sunlight), steady ocean air breeze, rain again, and cold, including extreme freeze (for the West Coast of Canada anyway) of minus fifteen degrees Celsius for almost a week. Even the pachysandra, a tough plant that normally tolerates our weather without complaining, showed some frost damage after the winter.
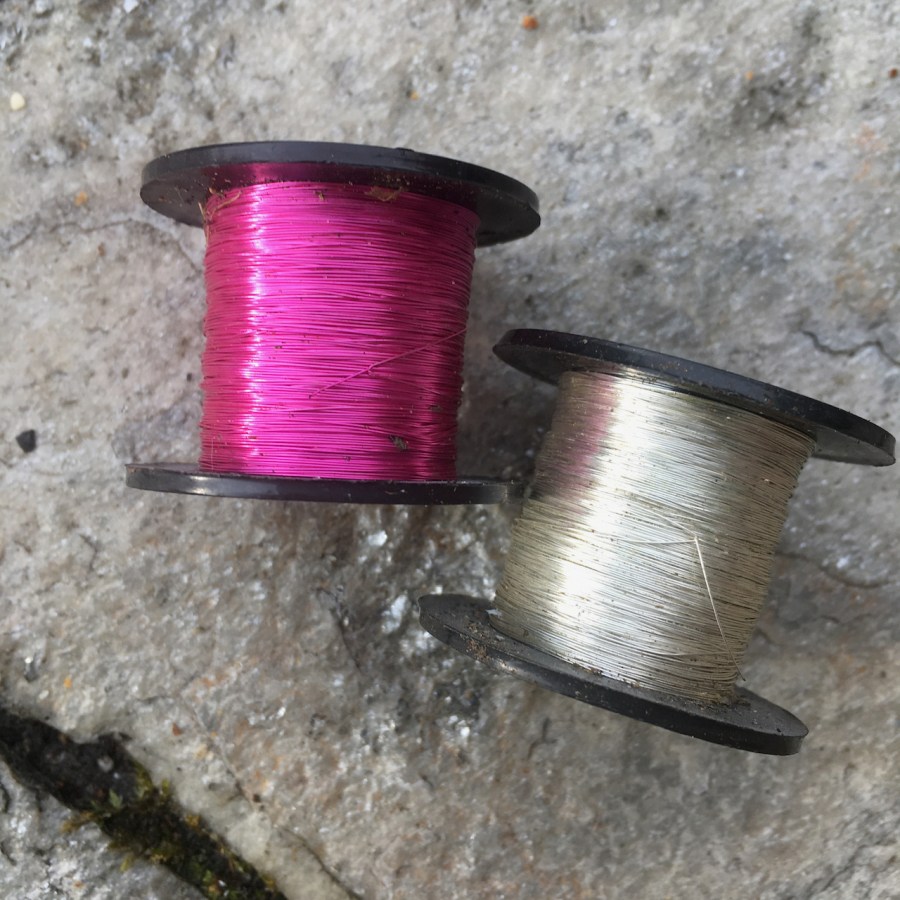
Surprisingly, the two spools of enamelled copper wire survived intact. I cleaned them and they look like new. A very impressive result of the unplanned test, and a proof that the quality of these wires is indeed excellent! Their coating’s ability to protect the colour is especially significant in the case of the silver plated wire. Silver readily tarnishes when exposed to moisture, and would turn black quickly if the surface was not perfectly sealed.
Now I have a proof that the silver-plated copper wire is truly non-tarnishing! And I am very happy to know that with this material our wire laceworks have a real chance to be forever 🙂
Remember to treat the wire gently to keep the surface whole and prevent scratches by pins, sewing hooks and nudge tools. With proper care your wire lace will shine and sparkle for years to come.
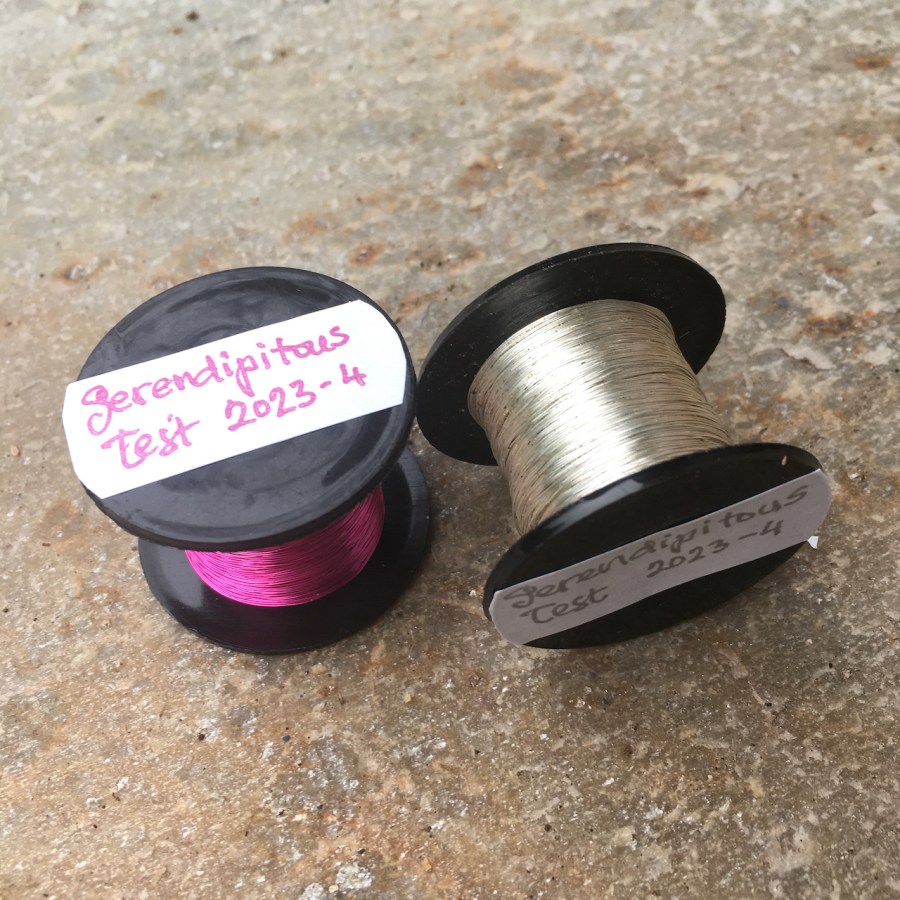
Both lost and found spools are now back in my studio. I will not sell them, of course, they stay in my wire box for future observation. They join other spools in my collection of miss-shaped, mislabeled and miss-wound spools. Eventually the wire will complete its uncommon journey and become a piece of unique lace.

Just in time for a merry crafting season, WireLaceSupplies shop is stocked with wire in every colour for all your creative needs 🙂
Happy lacemaking, and lacemaking with wire especially!
Lenka
PS: Before I finished writing this post, I already started working on a new project with the mentioned silver wire. Next post is coming soon!


